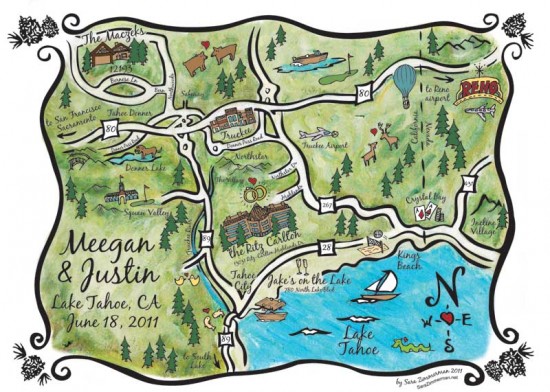
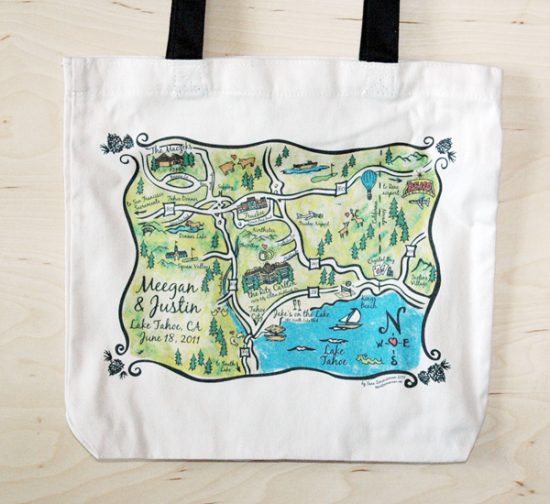
 I had the honor to create a super fun illustration for an upcoming June wedding. The mother of a bride contacted me with some fun ideas, wanting a map to feature the places wedding guests would visit. The map would be screened onto a bag as a wedding favor AND used as a directions card for the invite. The process required 3 separate artworks and some diligence in Photoshop and Illustrator.
- First I drew the map out with tracing paper. Each revision, I sliced up the tracing paper until I had the final paper.
- Second, I laid the tracing paper over a sheet of Saral transfer paper over Arches Cold Press paper and then traced the tracing paper. This left a light line on the paper.
- I then used India Ink to ink the first set of lines.
- Once that was done, I scanned in the images into Illustrator and using Live trace, I was able to outline the images. I had to go in and clean up many of the curves that didn’t transfer.
- Separately, I started another artwork using the same technique outlined in step 2. When the lines were laid in, I started in with a background wash of quinacridone sienna acrylics.
- When that was dry, I worked in about 3 other layers of greens, tans, and blues. When done, I scanned in that image.
- I brought that image into Photoshop and then, brought in the inked lined image. I locked that image and started messing around with the colors, blotching them and touching them up so they would match up with the landmarks.
- In another document, I used Live Trace to outline some lined drawings of the structures. Once those were brought into Illustrator and traced with Live Trace, I then used Live Paint to fill the structures in.
- I merged all the files together in Illustrator for the final product.
This final map was used on the wedding invitations and screened onto wedding bags as wedding favors for the guests. Needless to day this was a time-intensive project, but the end-product was well worth the time involved. Here’s how it came out on the bag:

